

Sending a Digital Fact Find
Securely send your client an online fact find to be completed
Step 1: Select Client Portal
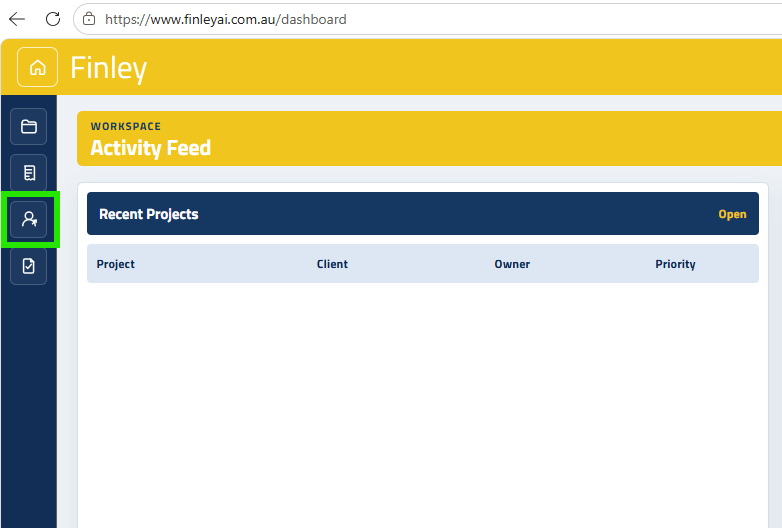
From the Left hand menu, select the ‘Client Portal’ icon.
Step 2: Generate Your Client Login Details
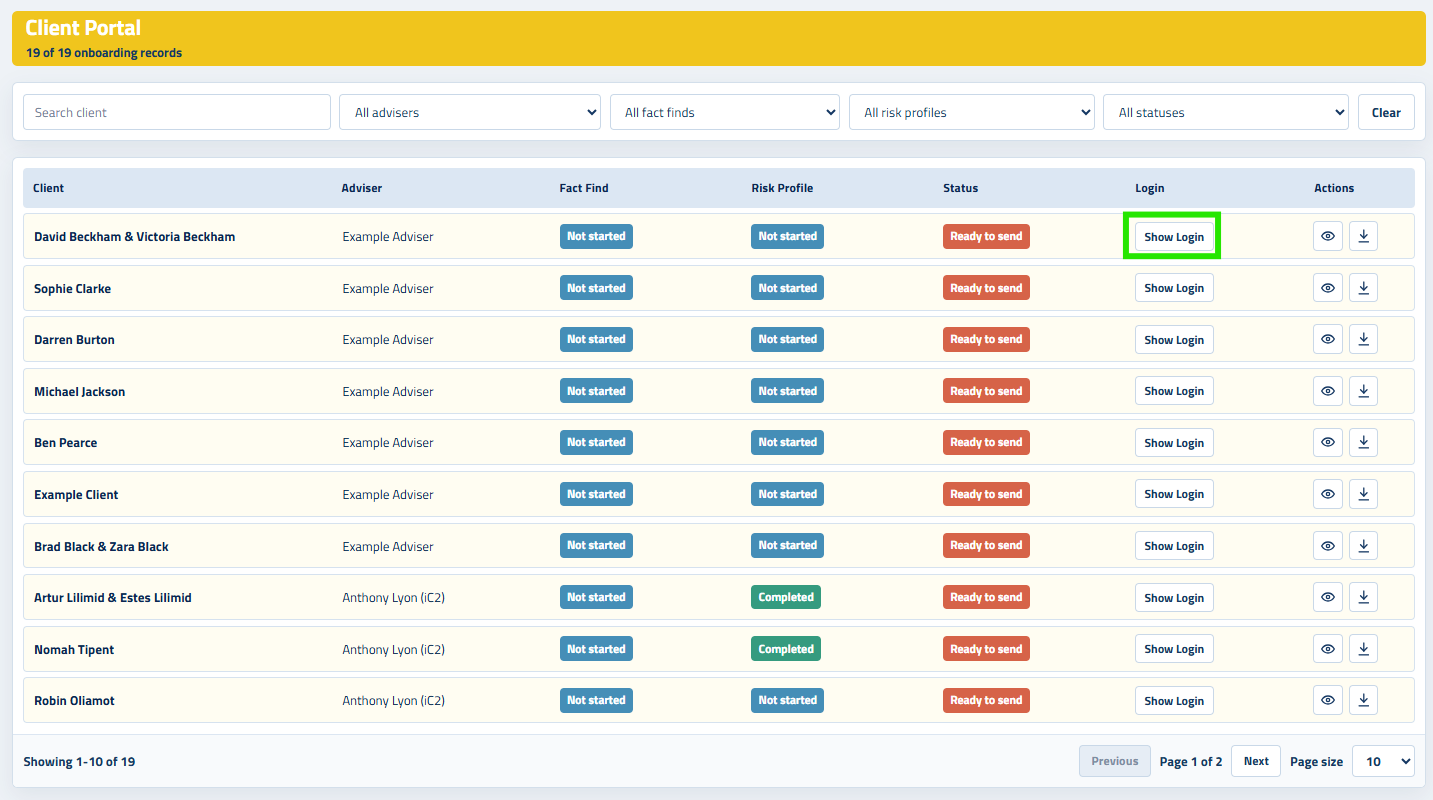
Search your client, and click ‘Show Login’
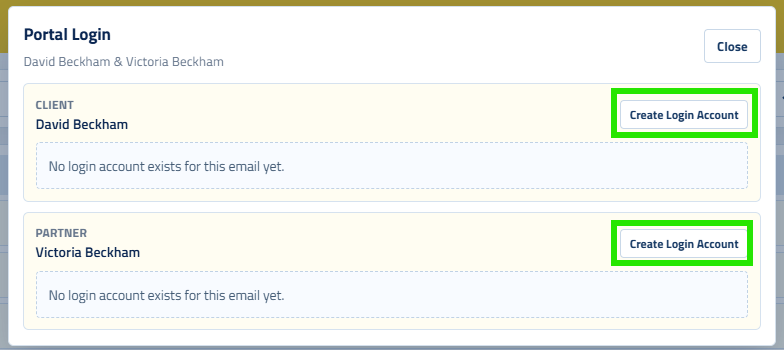
You can generate new login details for your client using the ‘Create Login Account’ button.
Once clicked, the login link, username and a temporary password will be generated for your client.
Send the client the login details to create their login.
Previewing The Fact Find (Client’s View)
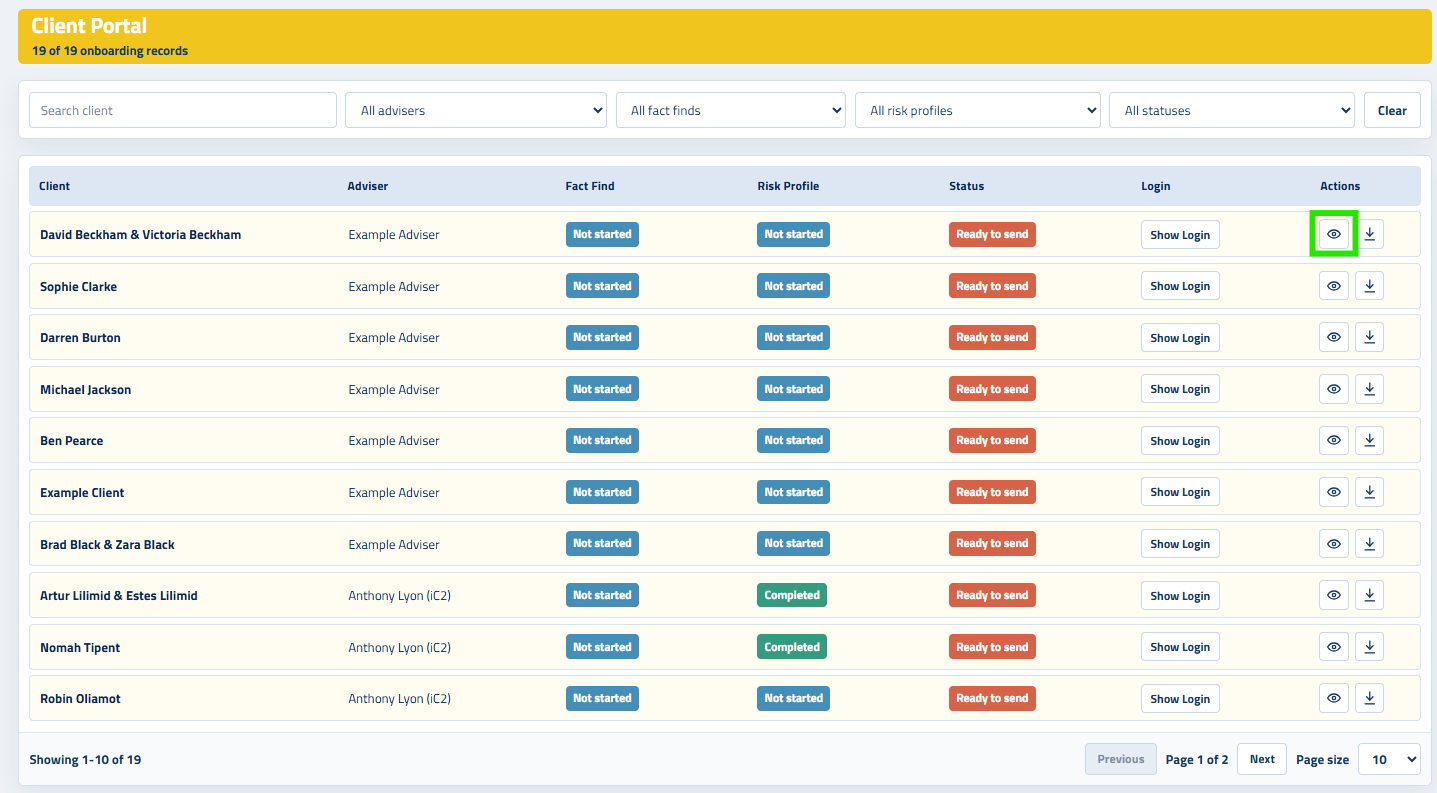
In the action column, you can use the view icon to preview the clients view of the fact find.
You can pre-populate any information for the client using their client profile in Finley.
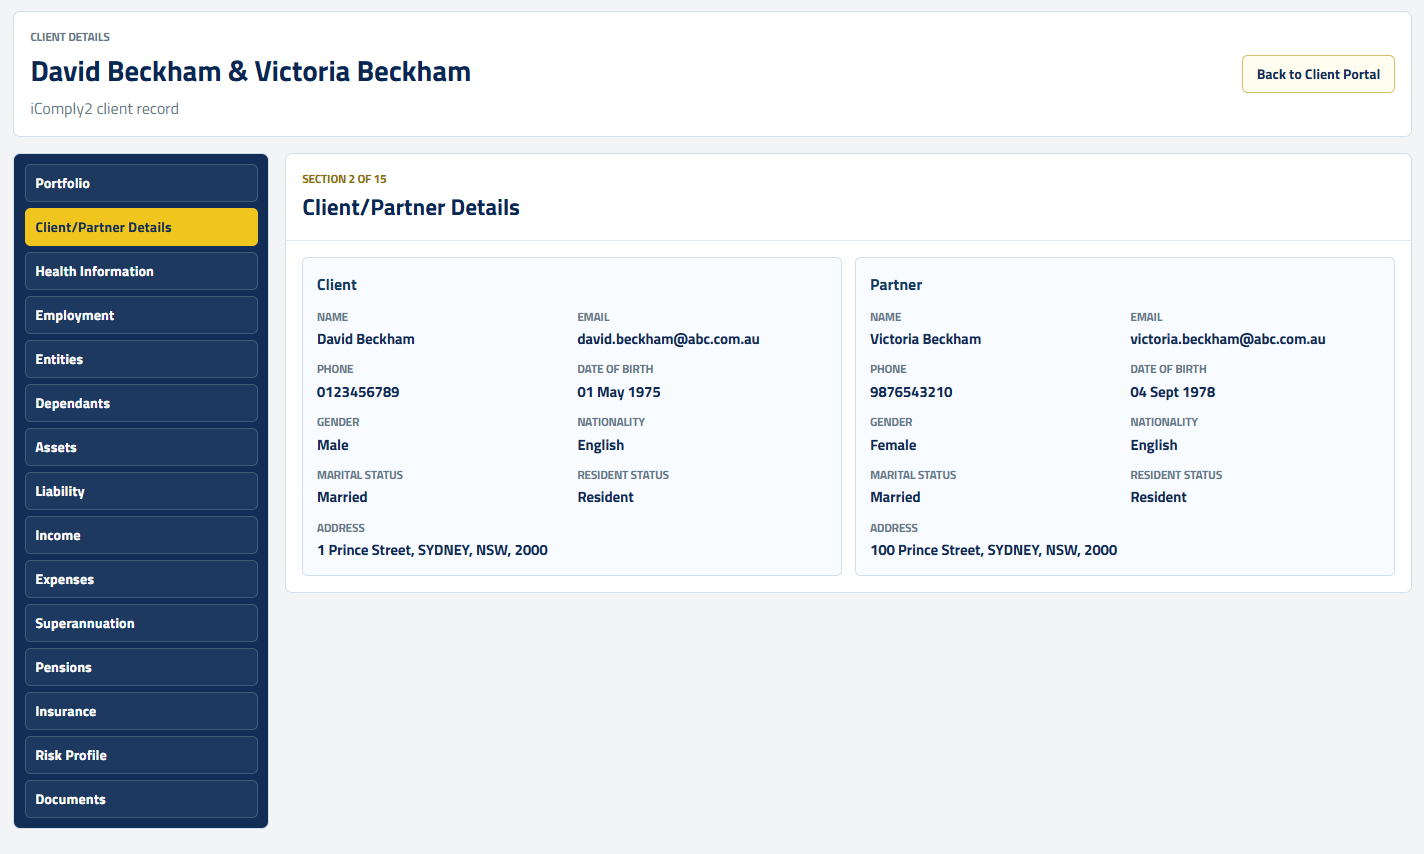
The fact find preview allows you to see what the client interface and the information loaded into the fact find.
Step 3: Your Clients Login Page
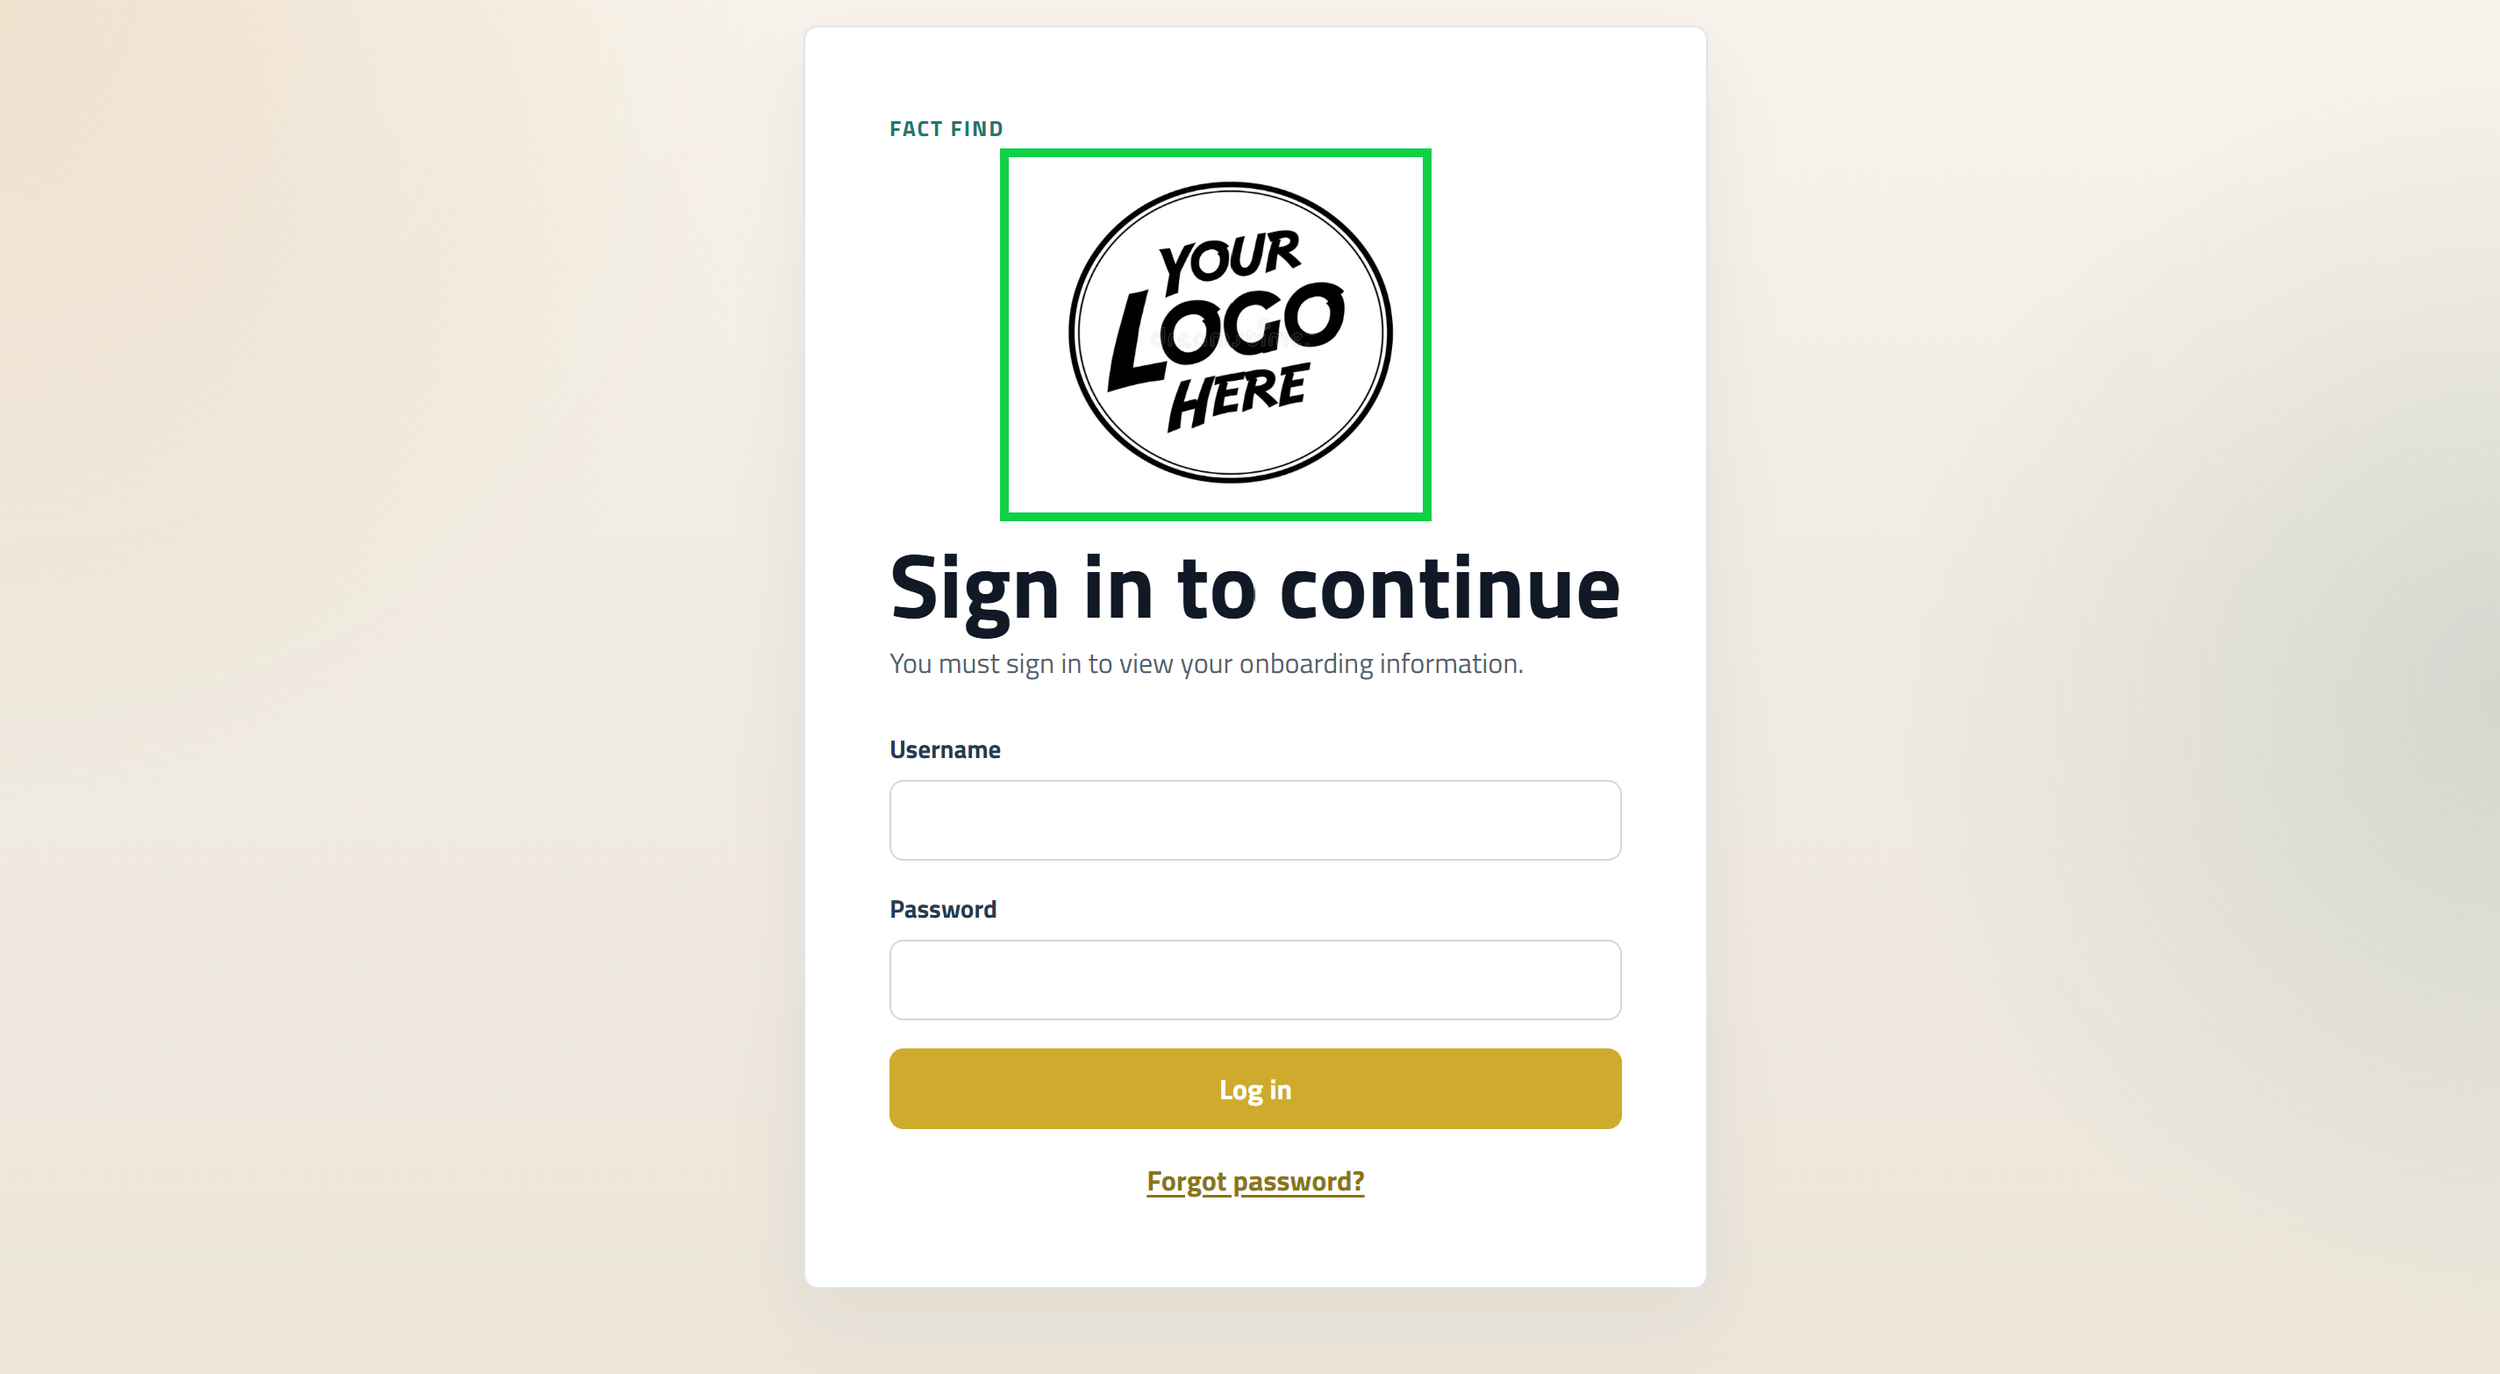
The client login page will display your practice logo.
Make sure you have your logo saved in your user profile before sending the digital fact find link
Setting Up Multi-Factor Authentiction
Once your client has successfully logged in for the first time, they will be prompted to set up multi-factor authentication.
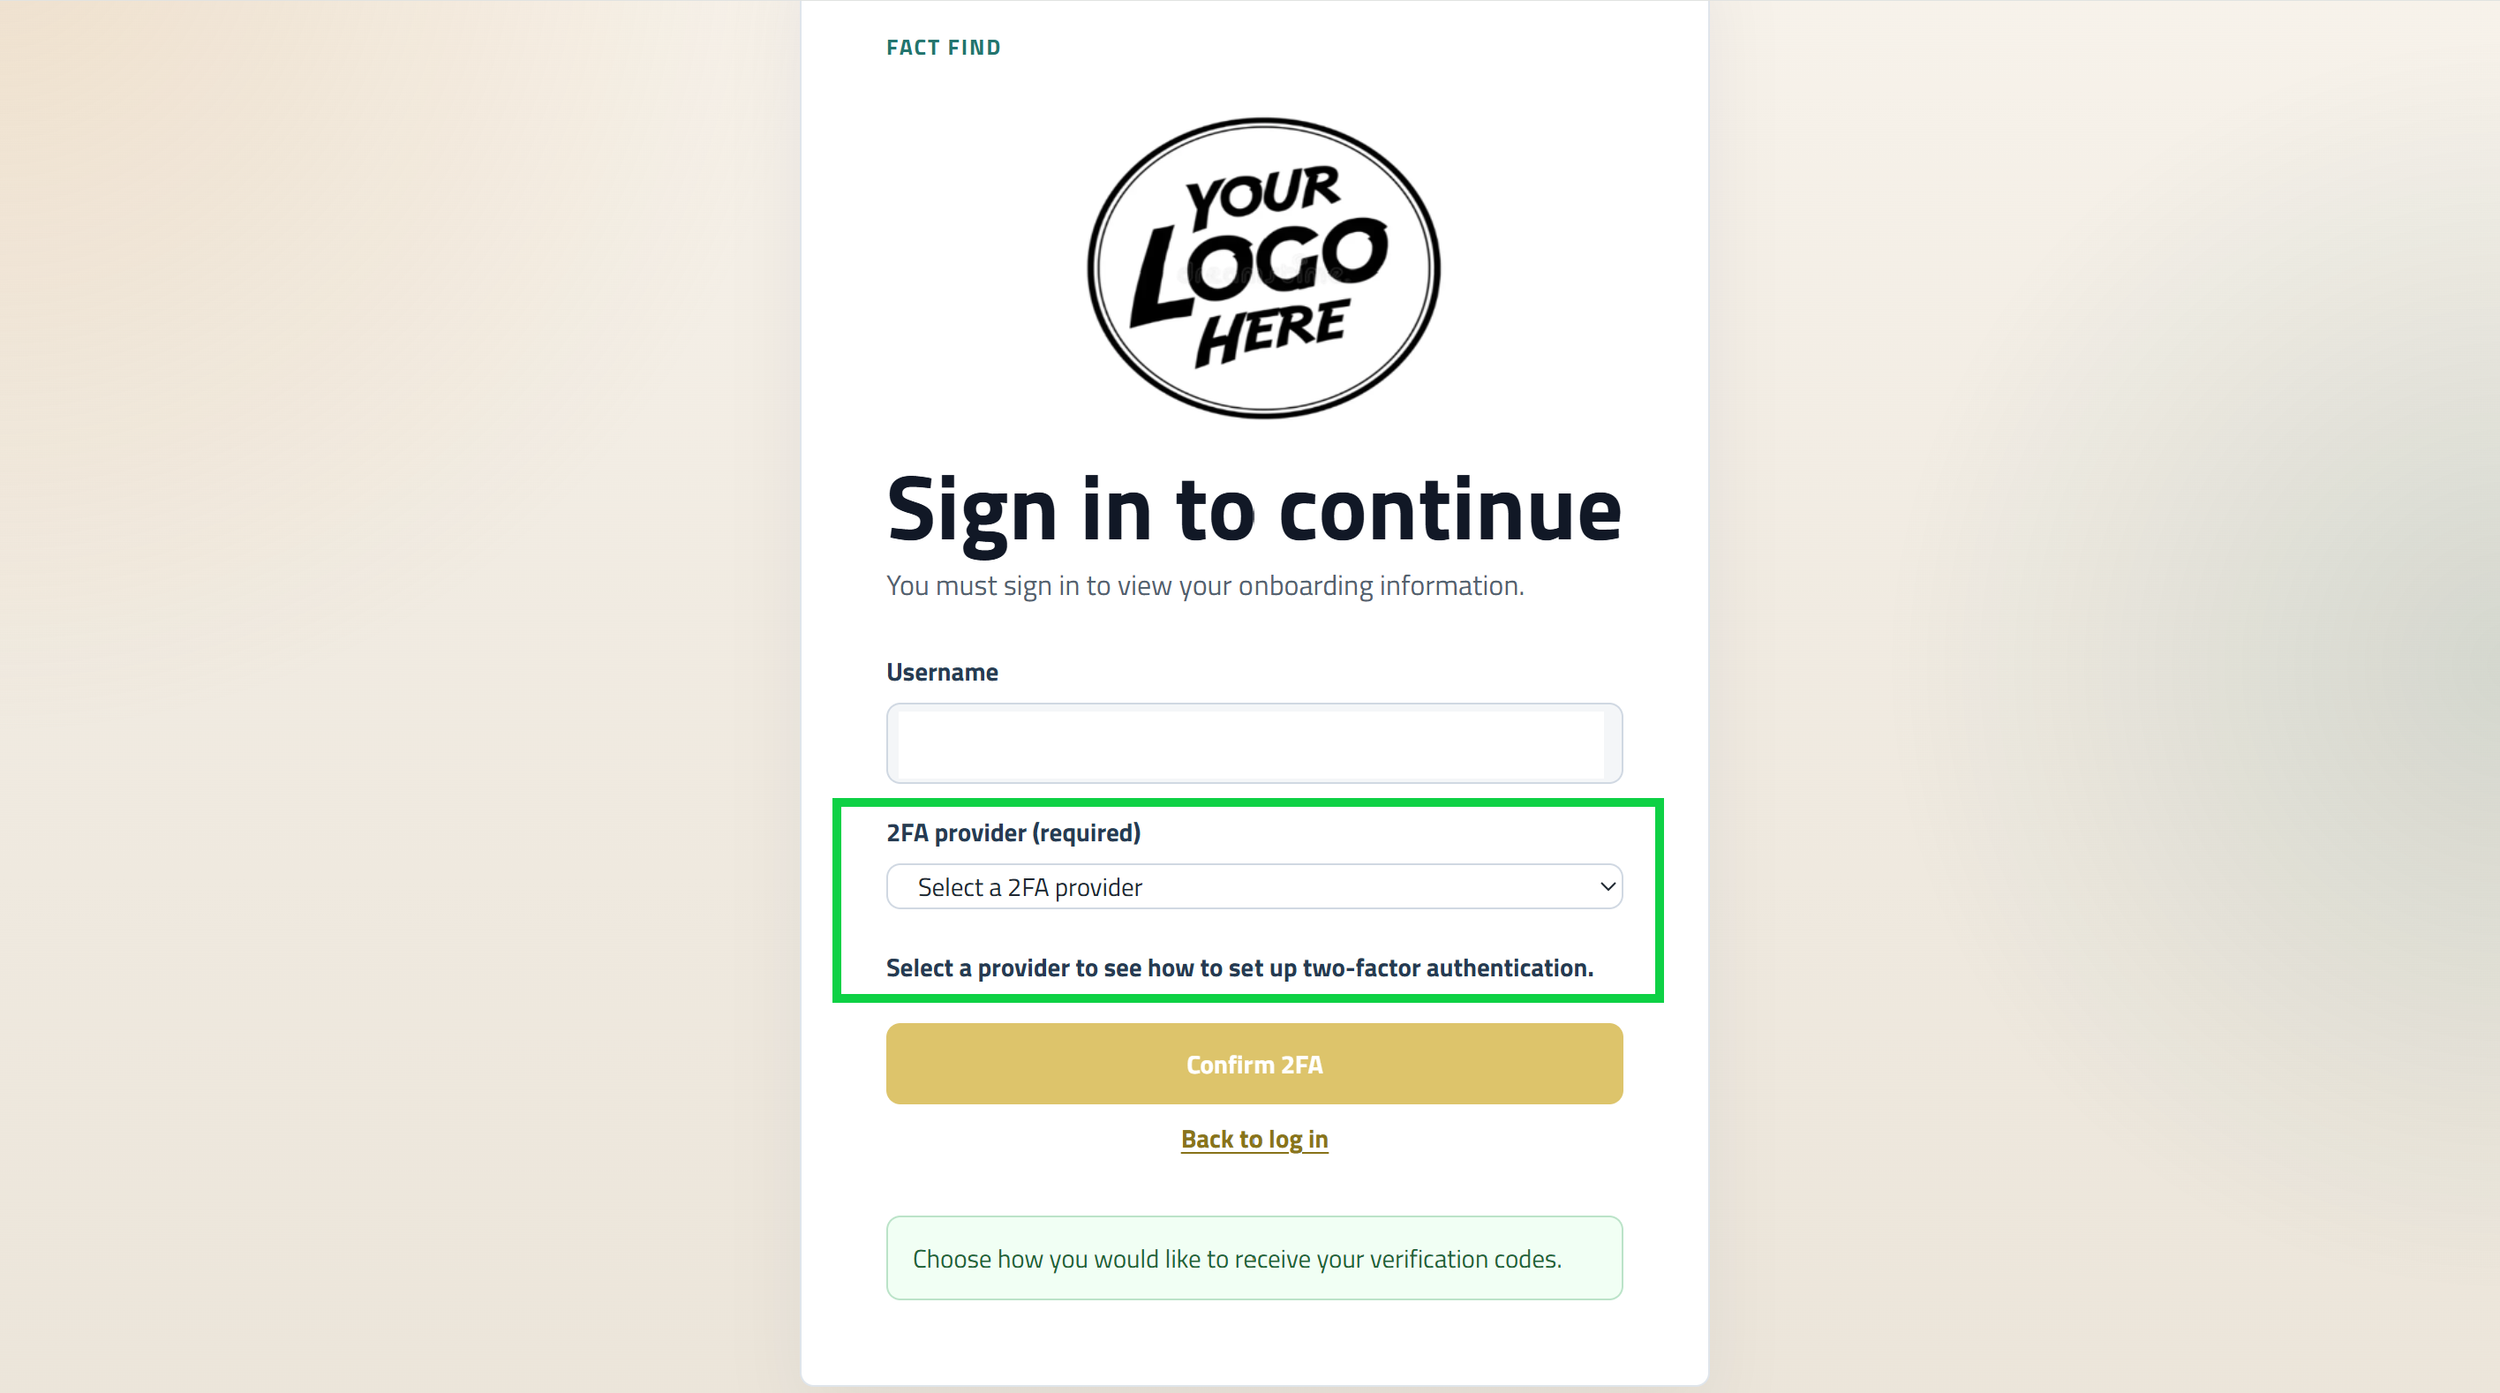
Your client can choose either email or a two-factor authentication (2FA) app
When choose a two-factor authentication (2FA) app, your client can use the Microsoft Authenticator app or Google Authenticator app
Completing The Fact Find
Once your client is authenticated, they can securely complete the fact find, risk proile questionnaire and upload any documentation to their file note storgage
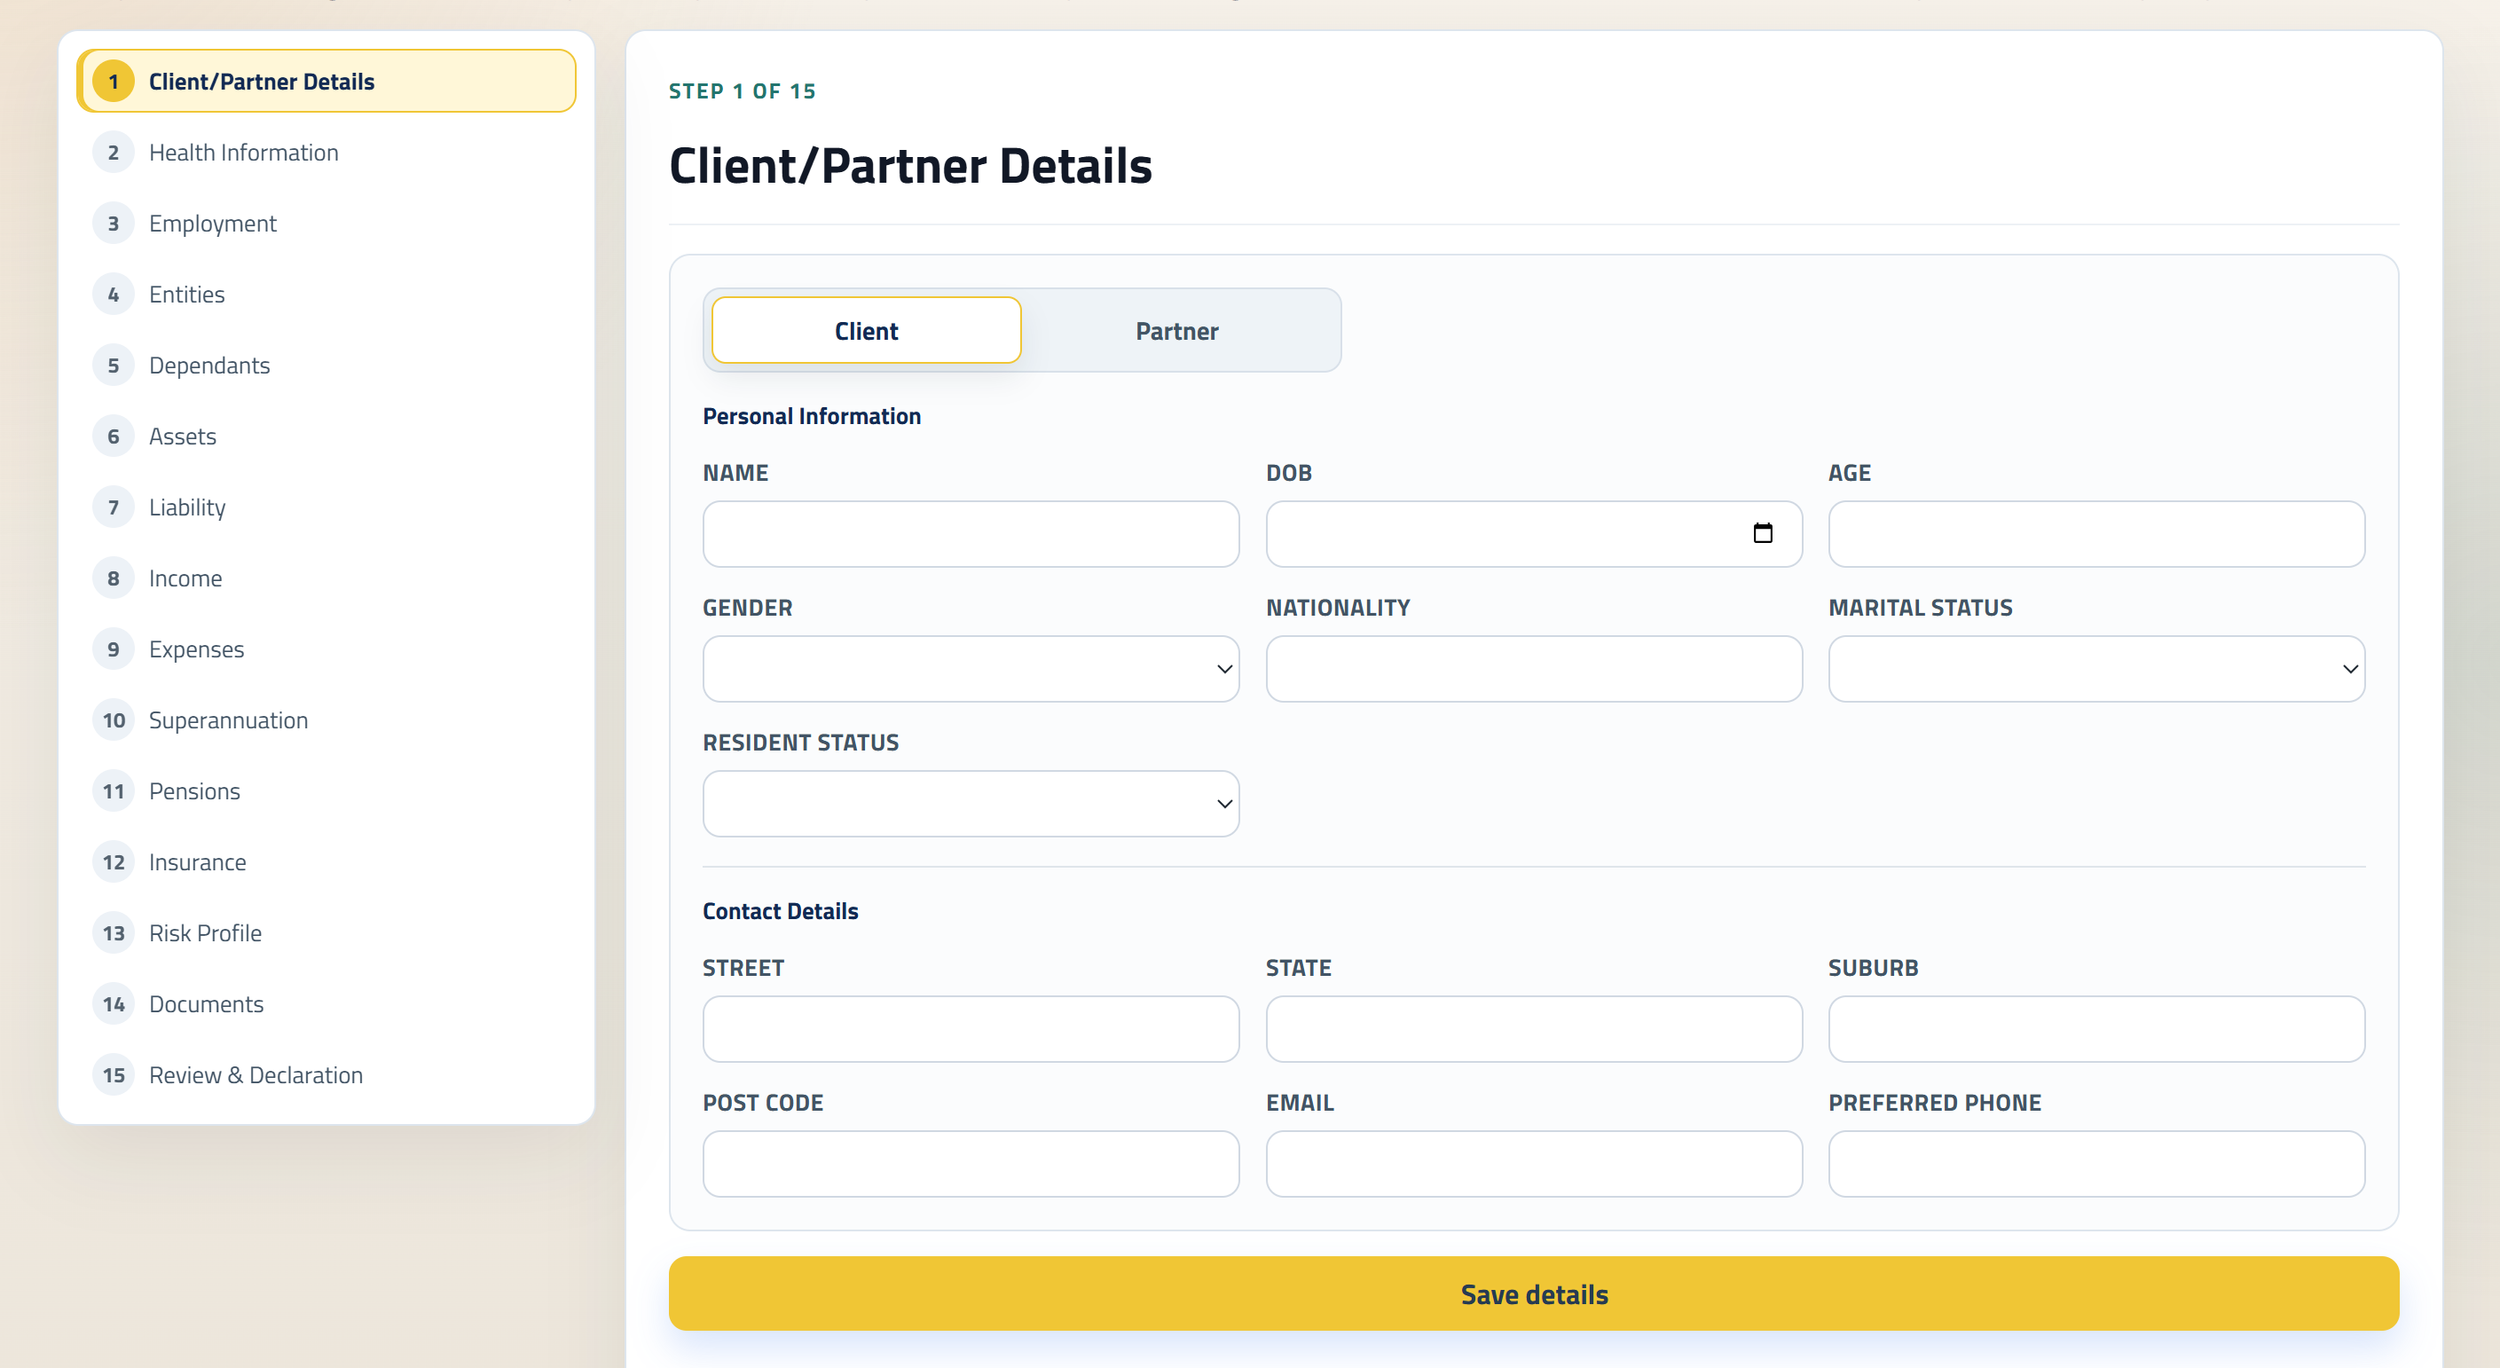
Downloading The Completed Fact Find
Once your client has logged in and completed the fact find, and risk profile, the status details will be updated.
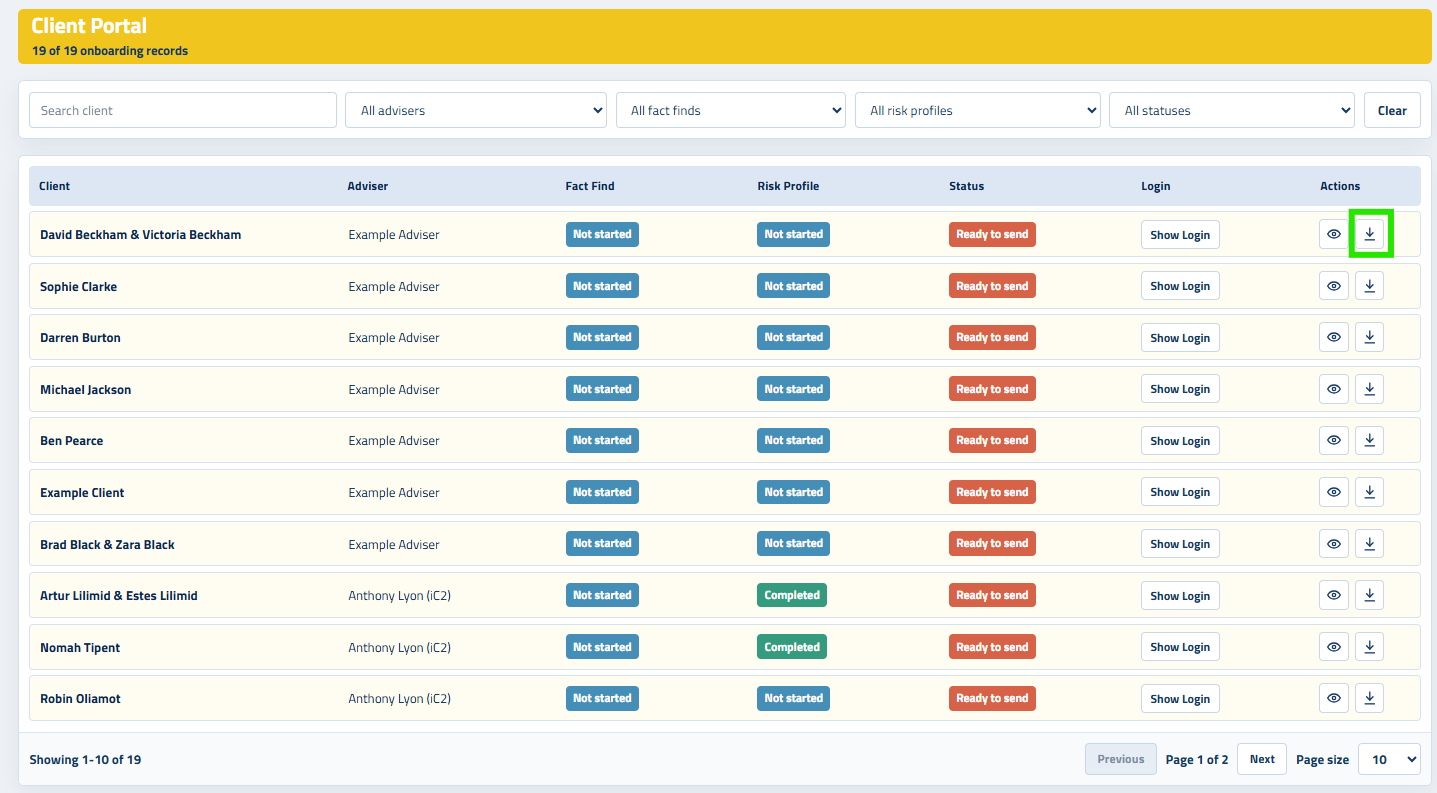
In the action column, you can use the download icon to download a copy of your clients completed fact find.